
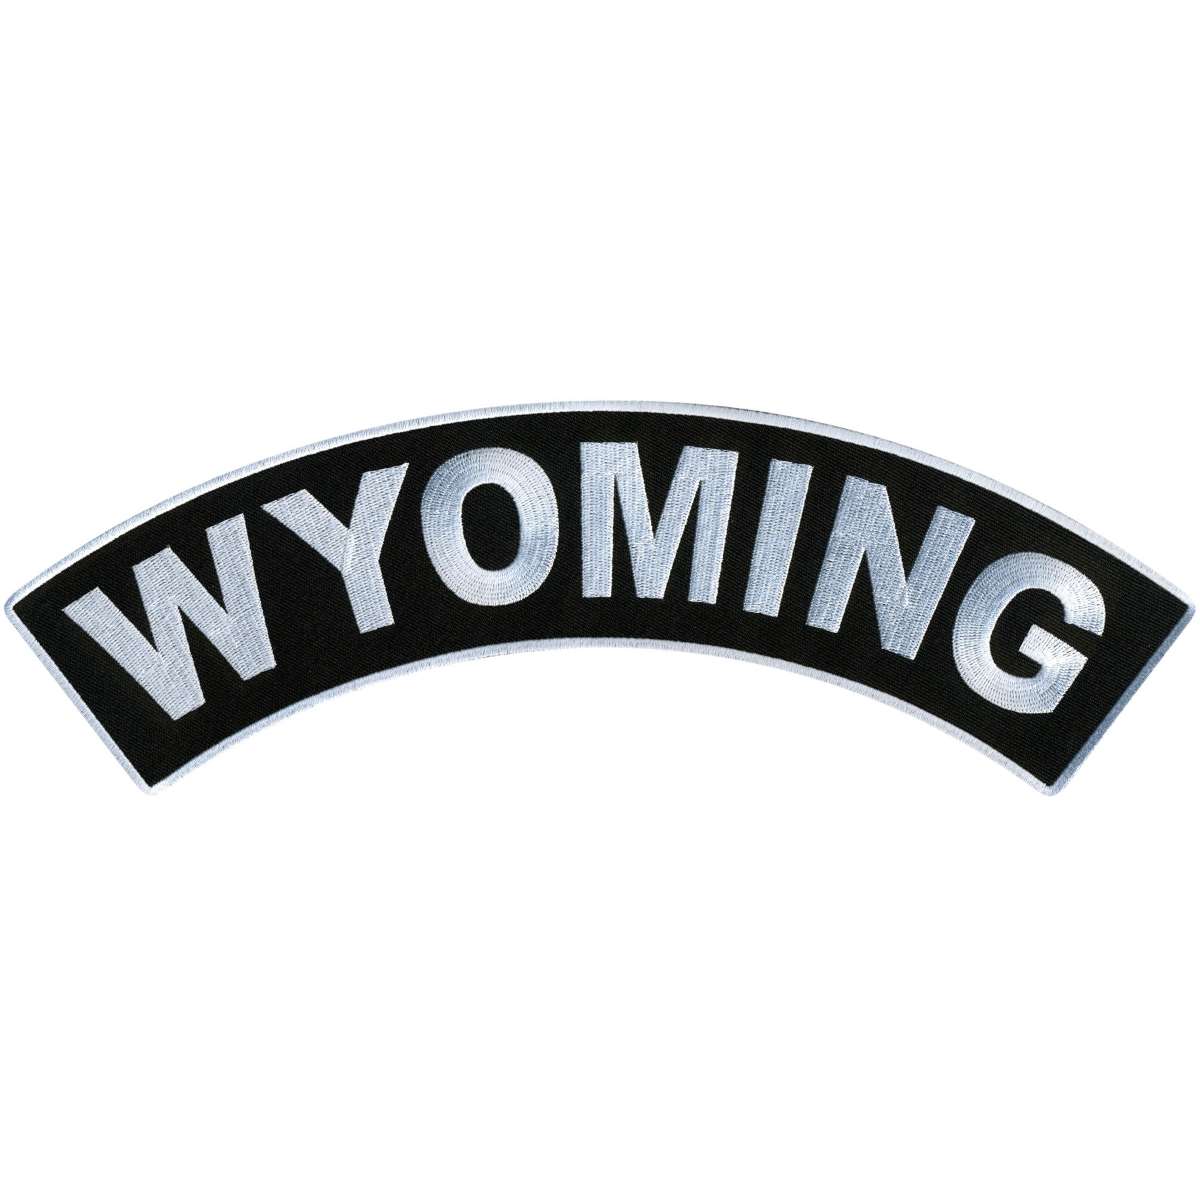
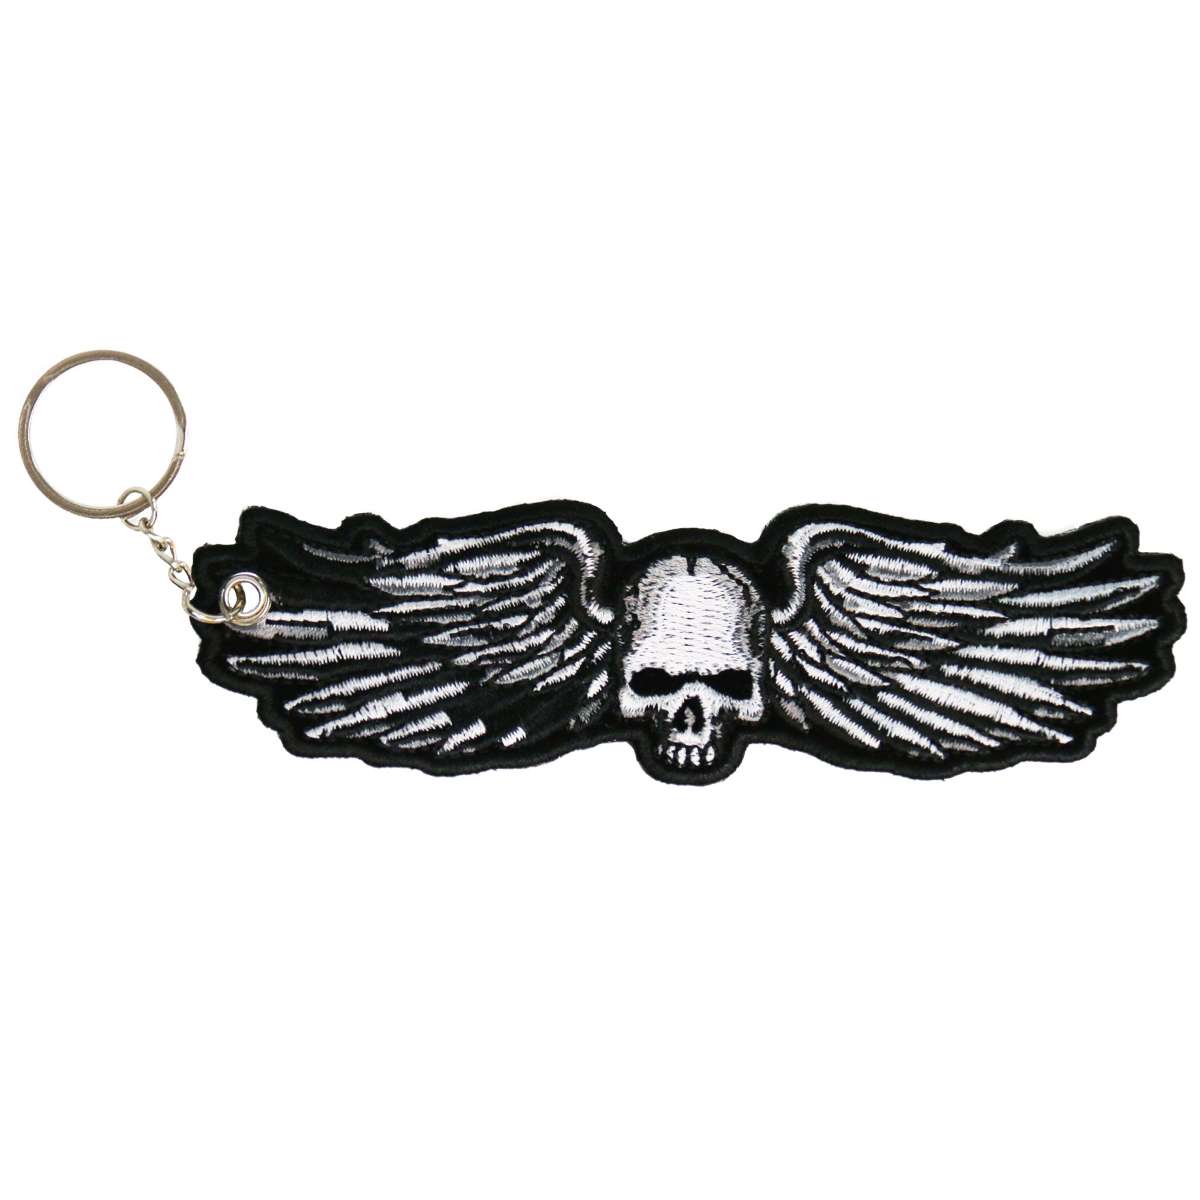
Hot Leathers Wyoming 12″ X 3″ Top Rocker Patch PPM4099
Original price was: $21.95.$10.00Current price is: $10.00.
All Hot Leathers patches feature a heat- sealed backing. This means that our patches may be ironed on or sewn on to most clothing easily
Patch Sewing Instructions:
Note: Sewing by hand will give you greater control and is easier than trying to use a sewing machine when sewing into leather. Sewing on a patch will leave permanent holes on your jacket to please be careful about placement before you start.
– Identify where you want the patch and outline the area with tailor’s chalk
– Using a sewing pick, pick open the bottom seam of your garment lining just enough to allow your hand to fit inside the garment
– Position your inside hand so it is resting flat between the lining and outlines area
– Use your outside had to position the patch, you can lightly spray leather adhesive on the area to hold the patch, however this is not a permanent adhesive
– Begin threading your upholstery needle using a strong nylon thread that matches your patch, use your thimble to push the needle through the leather moving from inside the item to the outside
– This will allow the knot to be on the inside of the item, then pull the needle through and out with your outside hand and back down through the patch and leather
– Continue this pattern all around the patch, keeping stitches close together and to the end of the patch for the most secure attachment
– Once you have gotten back to where you started, send the needle through the first stitch, and loop it around a few times to make a finishing knot
– Finally restitch the garments lining and your all set
Patch Iron-on Instructions:
– Preheat your iron to 325-335 degrees. Do Not Use Steam.
– Press the area where you want your patch to be for 25 seconds
– Position the patch on the garment so that it is positioned where you would like it to be
– Place a lightweight cloth over the patch, using a back-and-forth motion with medium pressure on the area for 15 seconds
– The iron should never come into direct contact with the patch
– Carefully turn your garment inside out, using the same back and forth motion firmly iron the inside of the item where your patch is for about 1 minute
– Turn the garment right side in once more, use your clen lightweight cloth to cover the patch
– Iron the edges of the patch through the cloth to ensure they are thoroughly sealed
– Let the garment cool completely before wearing
– Hot Leathers- Established 1983 (The Leader In Motorcycle Apparel)
All Hot Leathers patches feature a heat- sealed backing. This means that our patches may be ironed on or sewn on to most clothing easily
Patch Sewing Instructions:
Note: Sewing by hand will give you greater control and is easier than trying to use a sewing machine when sewing into leather. Sewing on a patch will leave permanent holes on your jacket to please be careful about placement before you start.
– Identify where you want the patch and outline the area with tailor’s chalk
– Using a sewing pick, pick open the bottom seam of your garment lining just enough to allow your hand to fit inside the garment
– Position your inside hand so it is resting flat between the lining and outlines area
– Use your outside had to position the patch, you can lightly spray leather adhesive on the area to hold the patch, however this is not a permanent adhesive
– Begin threading your upholstery needle using a strong nylon thread that matches your patch, use your thimble to push the needle through the leather moving from inside the item to the outside
– This will allow the knot to be on the inside of the item, then pull the needle through and out with your outside hand and back down through the patch and leather
– Continue this pattern all around the patch, keeping stitches close together and to the end of the patch for the most secure attachment
– Once you have gotten back to where you started, send the needle through the first stitch, and loop it around a few times to make a finishing knot
– Finally restitch the garments lining and your all set
Patch Iron-on Instructions:
– Preheat your iron to 325-335 degrees. Do Not Use Steam.
– Press the area where you want your patch to be for 25 seconds
– Position the patch on the garment so that it is positioned where you would like it to be
– Place a lightweight cloth over the patch, using a back-and-forth motion with medium pressure on the area for 15 seconds
– The iron should never come into direct contact with the patch
– Carefully turn your garment inside out, using the same back and forth motion firmly iron the inside of the item where your patch is for about 1 minute
– Turn the garment right side in once more, use your clen lightweight cloth to cover the patch
– Iron the edges of the patch through the cloth to ensure they are thoroughly sealed
– Let the garment cool completely before wearing
– Hot Leathers- Established 1983 (The Leader In Motorcycle Apparel)
Reviews
"Got the 2-pack and the material feels solid and well-made. I've been using it daily for about two weeks now. Would buy again."
"Ordered the 3-pack on sale and the sound is clear without any static. Brought it camping and it held up fine. Solid deal, no regrets."
"Ordered the 3-pack on sale and it feels sturdy in the hand. Brought it camping and it held up fine. Couldn't ask for more at this price."
"Bought the starter kit and the fabric is surprisingly breathable. Took it to the lake house for the weekend. Instructions could be a bit clearer, but I figured it out. I'm in Tampa, FL. Glad I went with this one."
"Came earlier than the promised date. I've been using it daily for about two weeks now. The strap is a little long for me, easy enough to adjust. I'm in Kansas City, MO. Worth the money."
"Bought the starter kit and the connectors click in securely. Took it to the lake house for the weekend. Would buy again."
"Chose the king size and the stitching has held up better than expected. Tested it through a full week of rain. Shipping was quick and the item delivered."
"Packaging was secure and nothing moved. The color matched the listing exactly. Tested it through a full week of rain. Definitely a repeat customer after this."
"Chose the stainless version and the screen is sharp and bright in daylight. It lives in my gym bag now. I'm in Chicago, IL. Worth the money."
"Went with the XL and the compartments keep everything organized. I keep it in the car for road trips. Runs a touch small but nothing a size up didn't fix. Happy with my purchase."
Related products
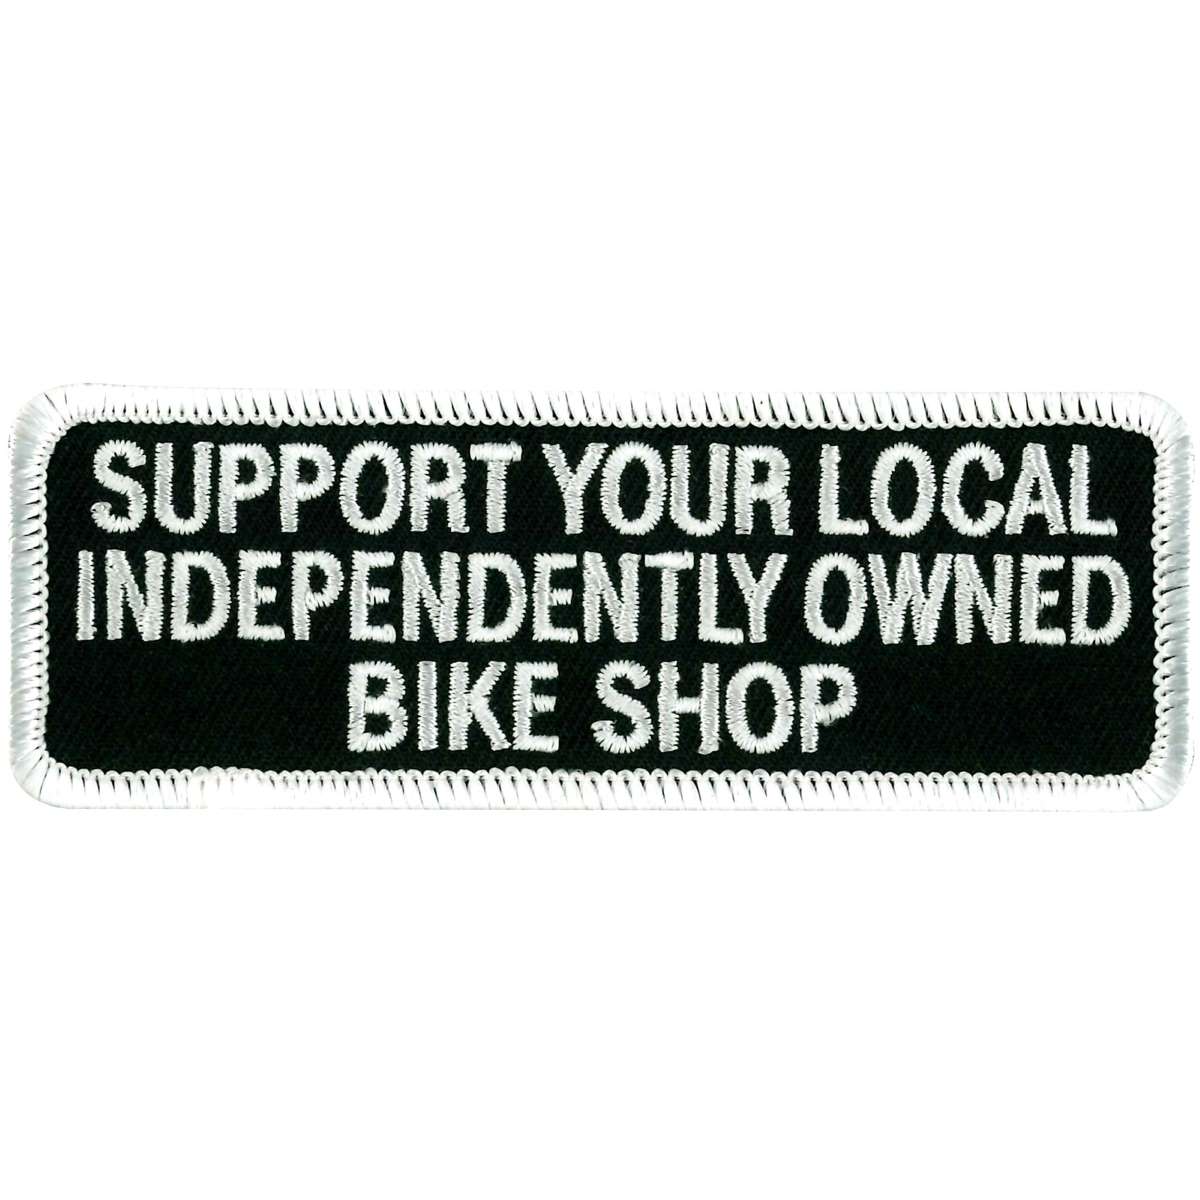
Hot Leathers PPL9182 Support Your Local Shop 4″ Patch
Original price was: $15.95.$10.00Current price is: $10.00.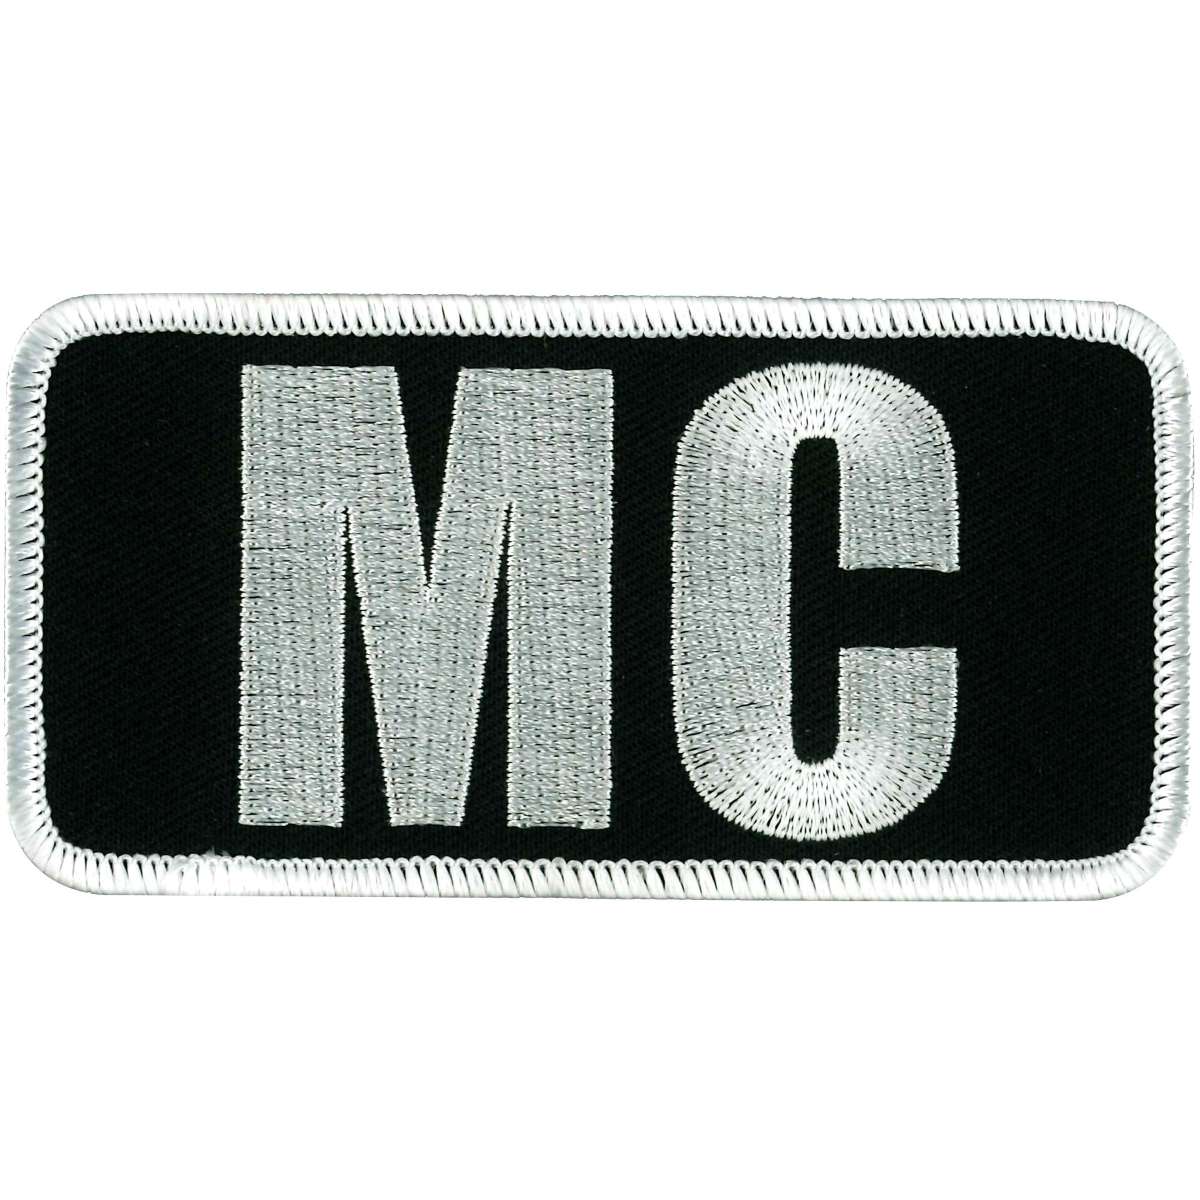
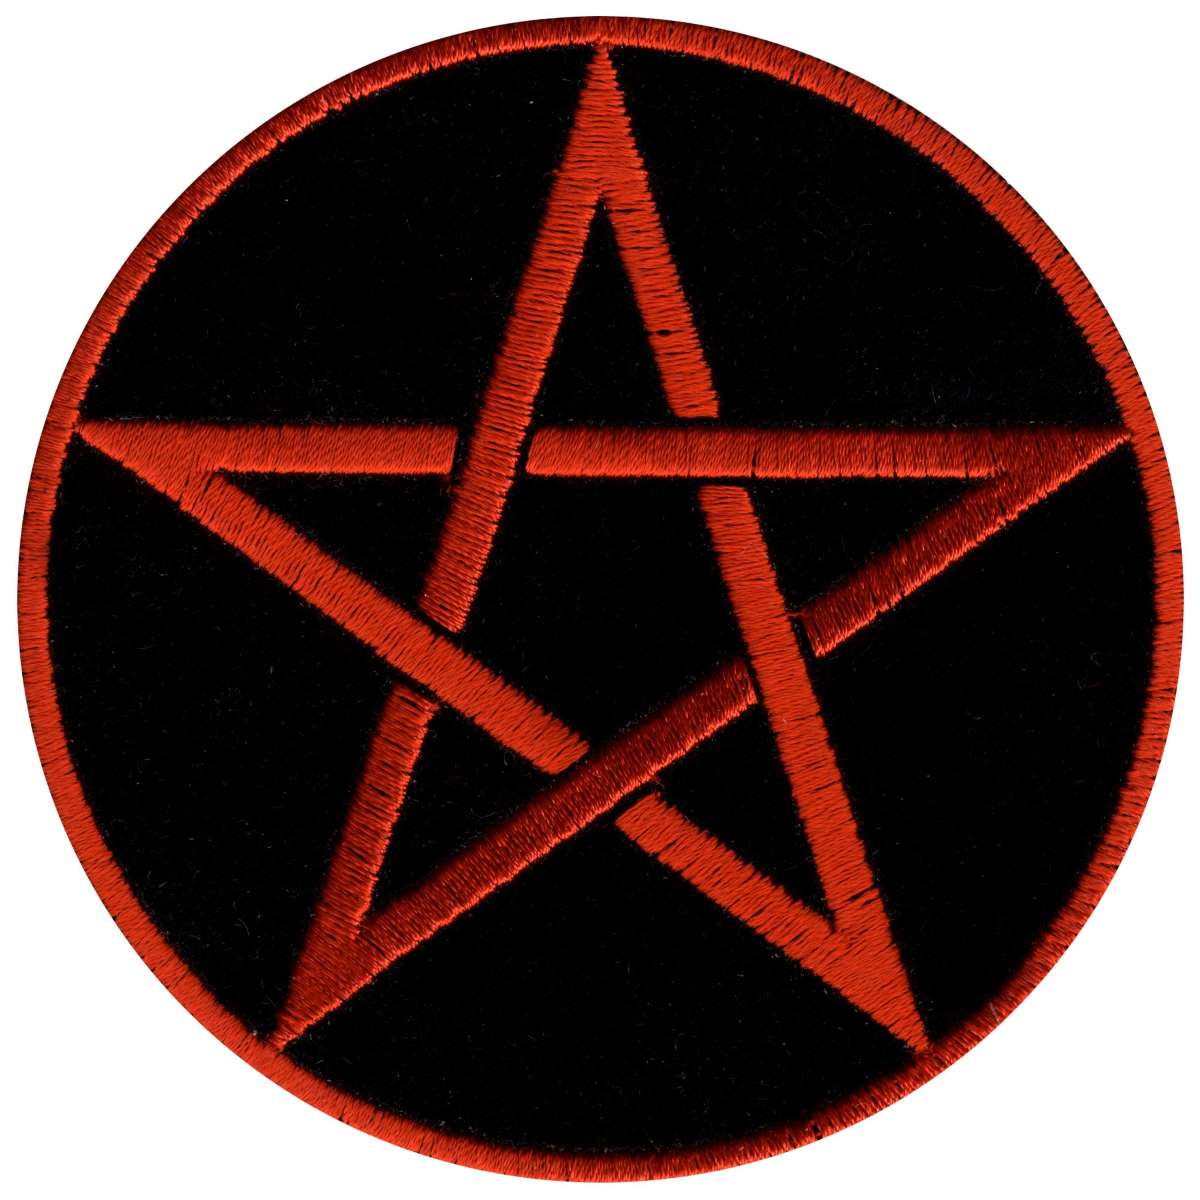
Hot Leathers PPL9482 Pentagram Patch
Original price was: $15.95.$10.00Current price is: $10.00.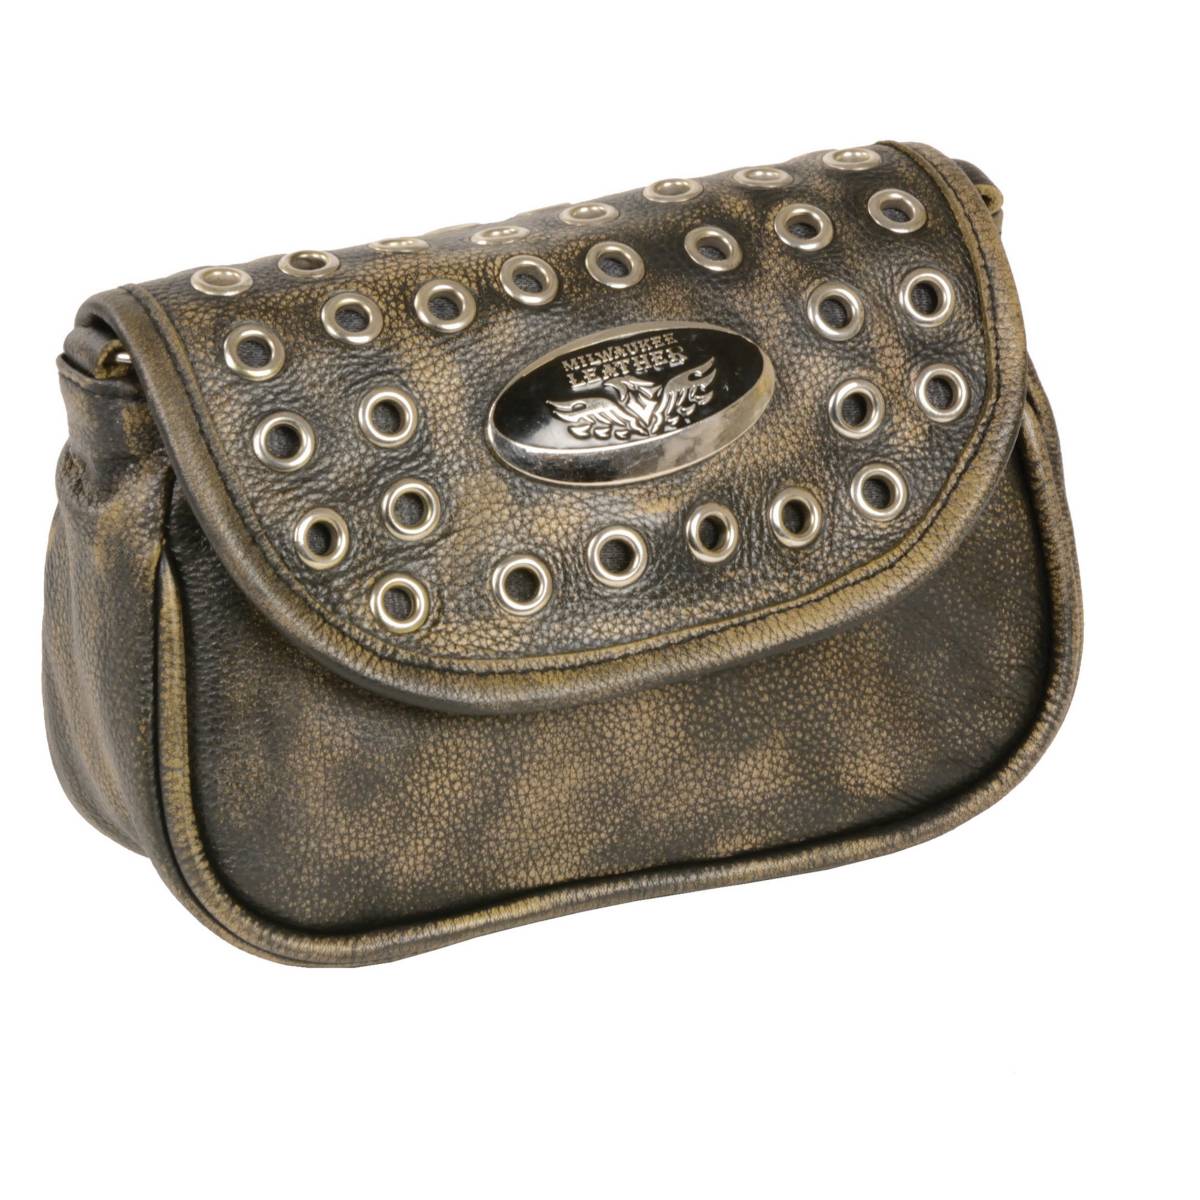
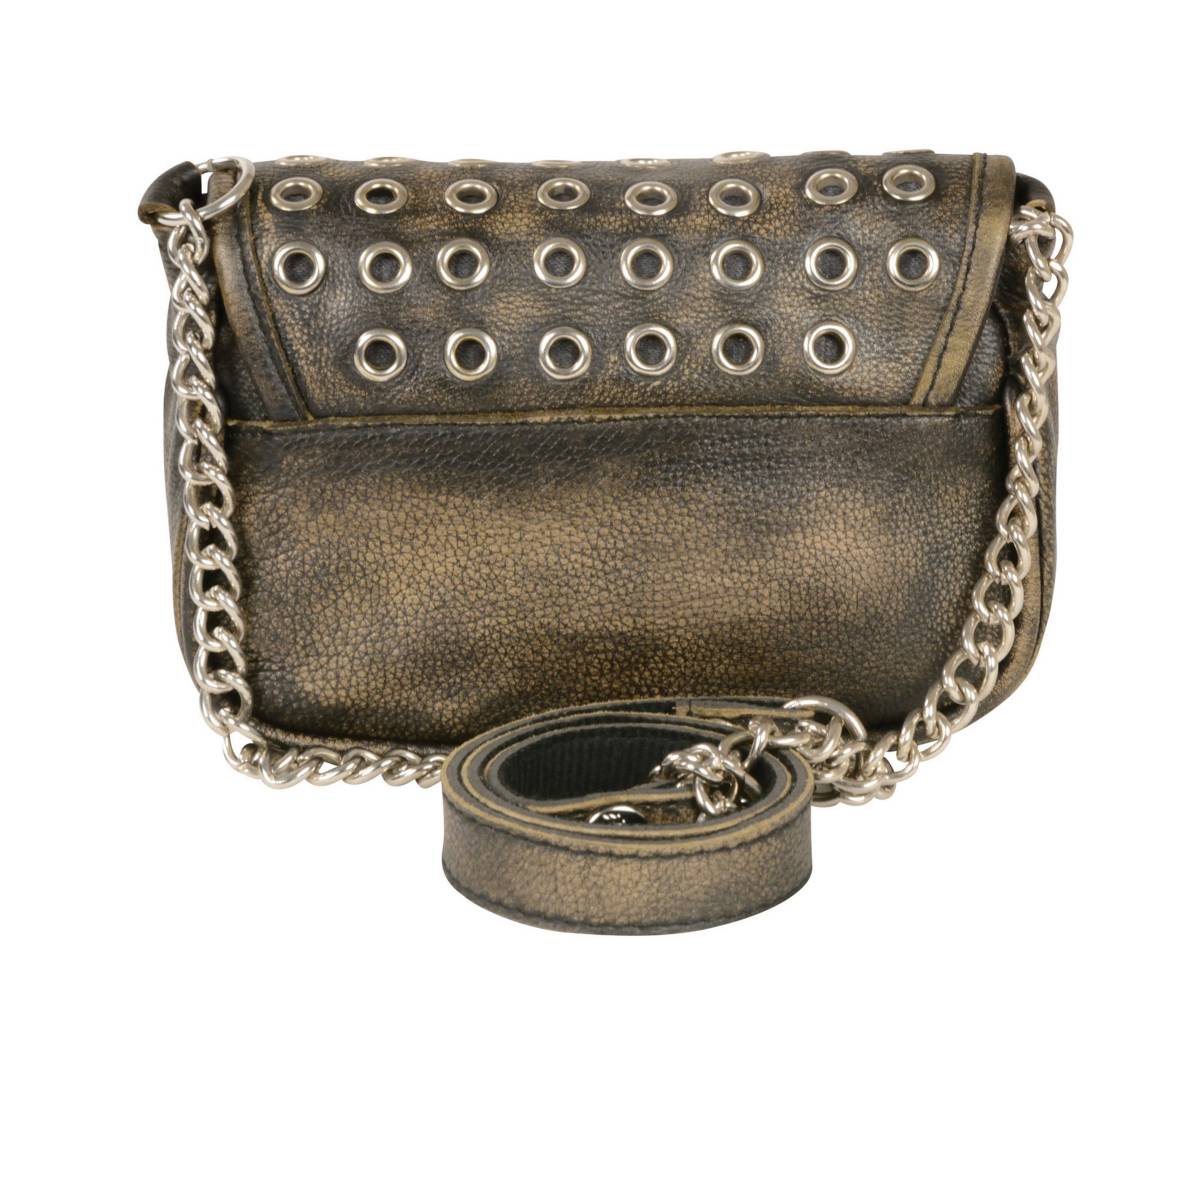
Milwaukee Leather MP8830 Ladies Distress Brown Leather Chain Strap Shoulder Bag
Original price was: $104.99.$31.99Current price is: $31.99.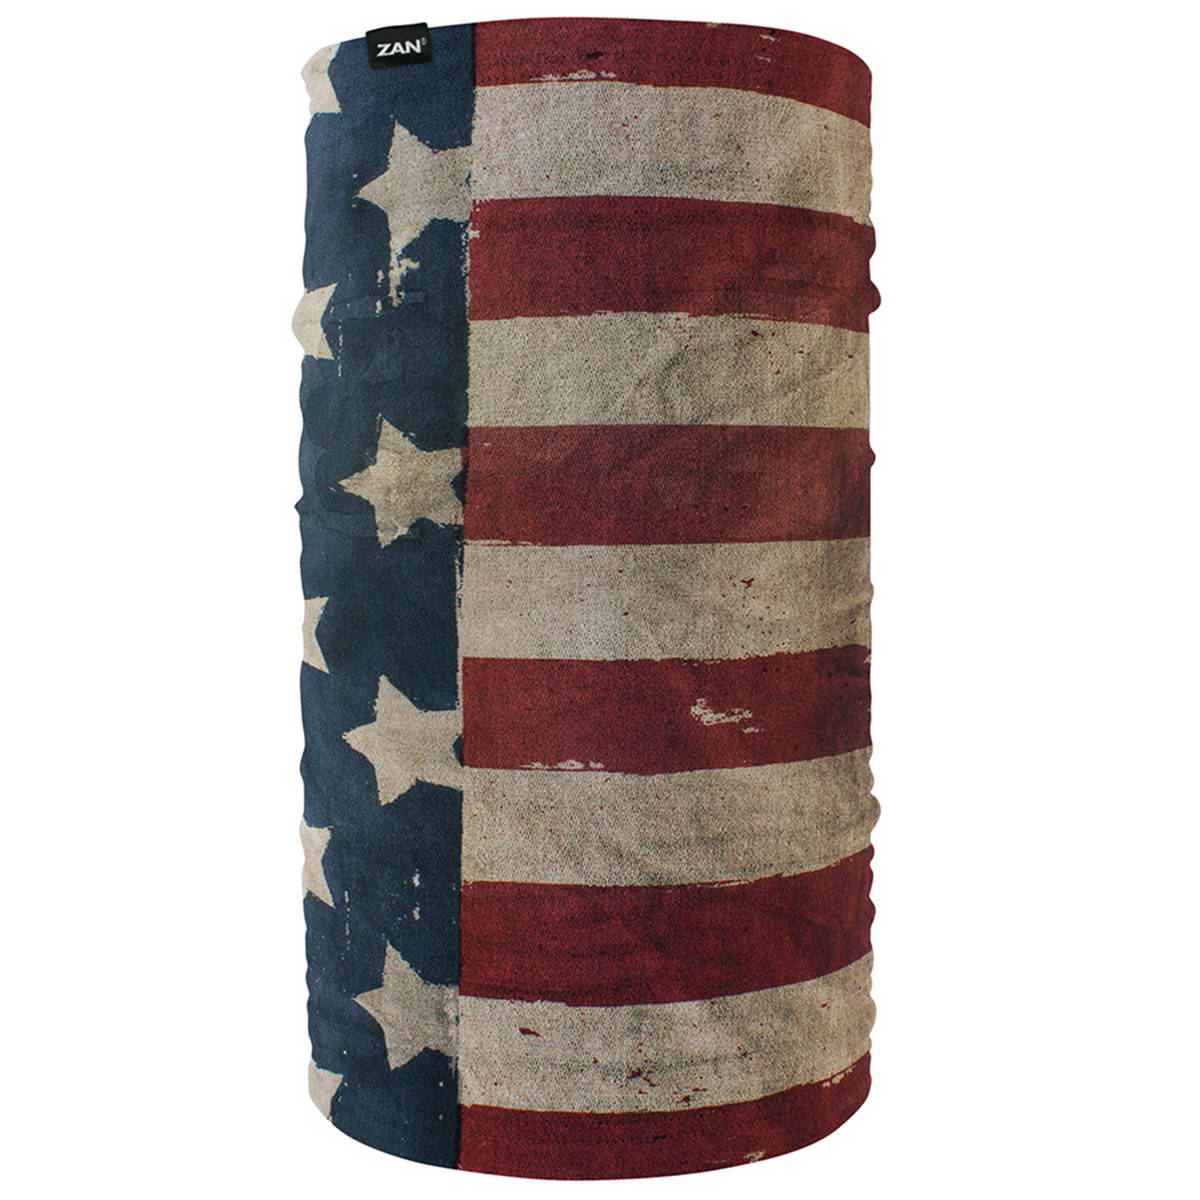
ZanHeadgear TF408 Motley Tube Fleece Lined Patriot
Original price was: $42.99.$12.99Current price is: $12.99.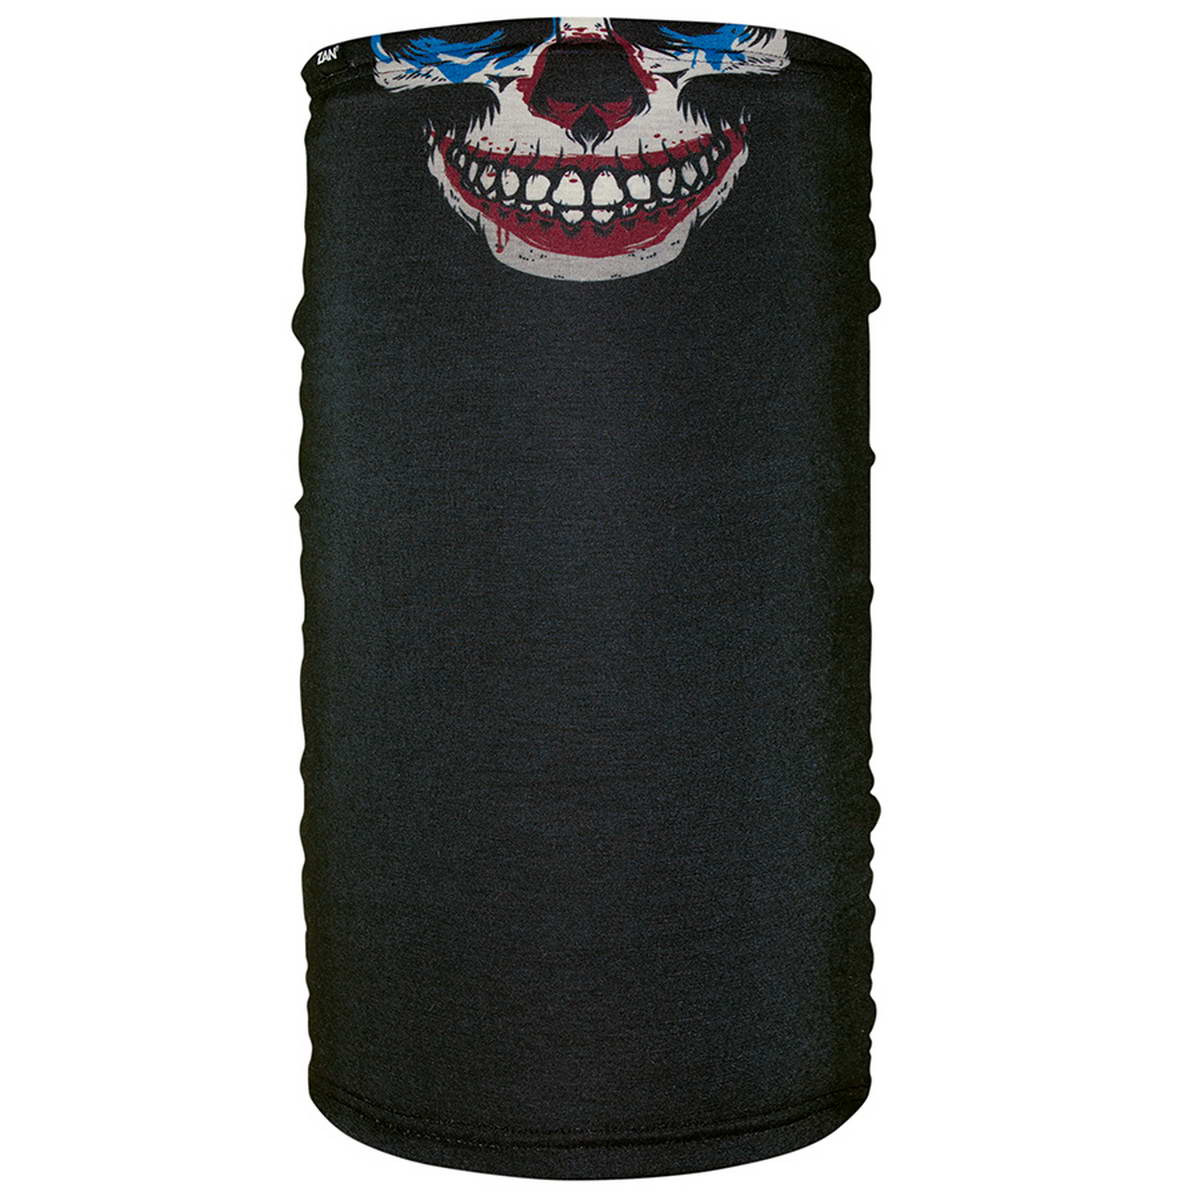
ZanHeadgear TF463 Motley Tube Fleece Lined Evil Clown
Original price was: $42.99.$12.99Current price is: $12.99.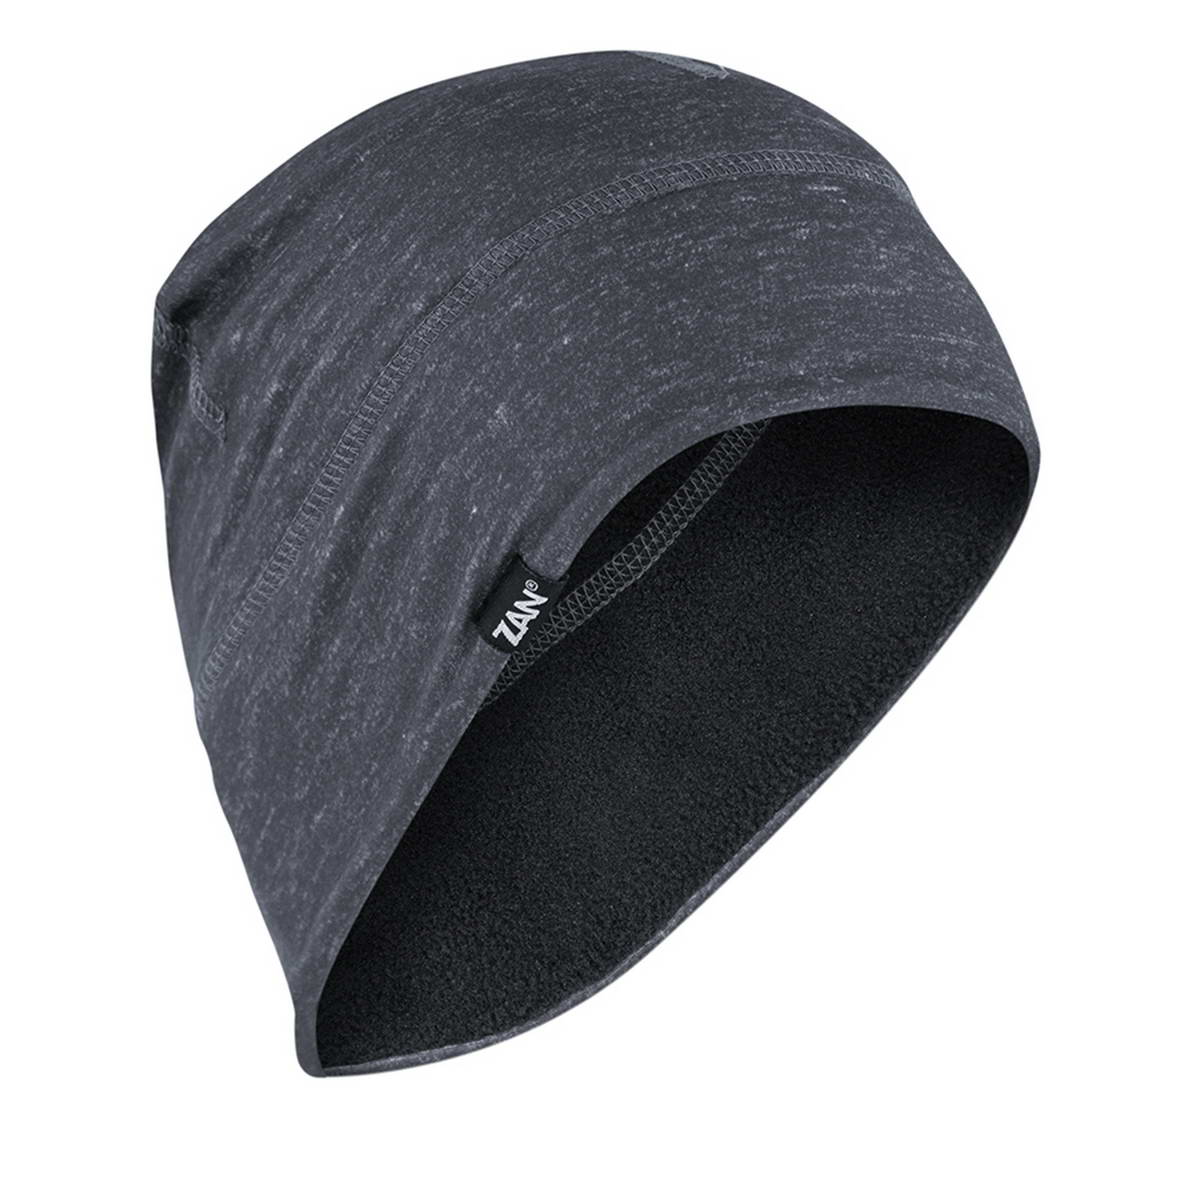
ZanHeadgear WHLF410 Helmet Liner/Beanie SportFlex Series Fleece Lined Charcoal Heather
Original price was: $32.98.$10.00Current price is: $10.00.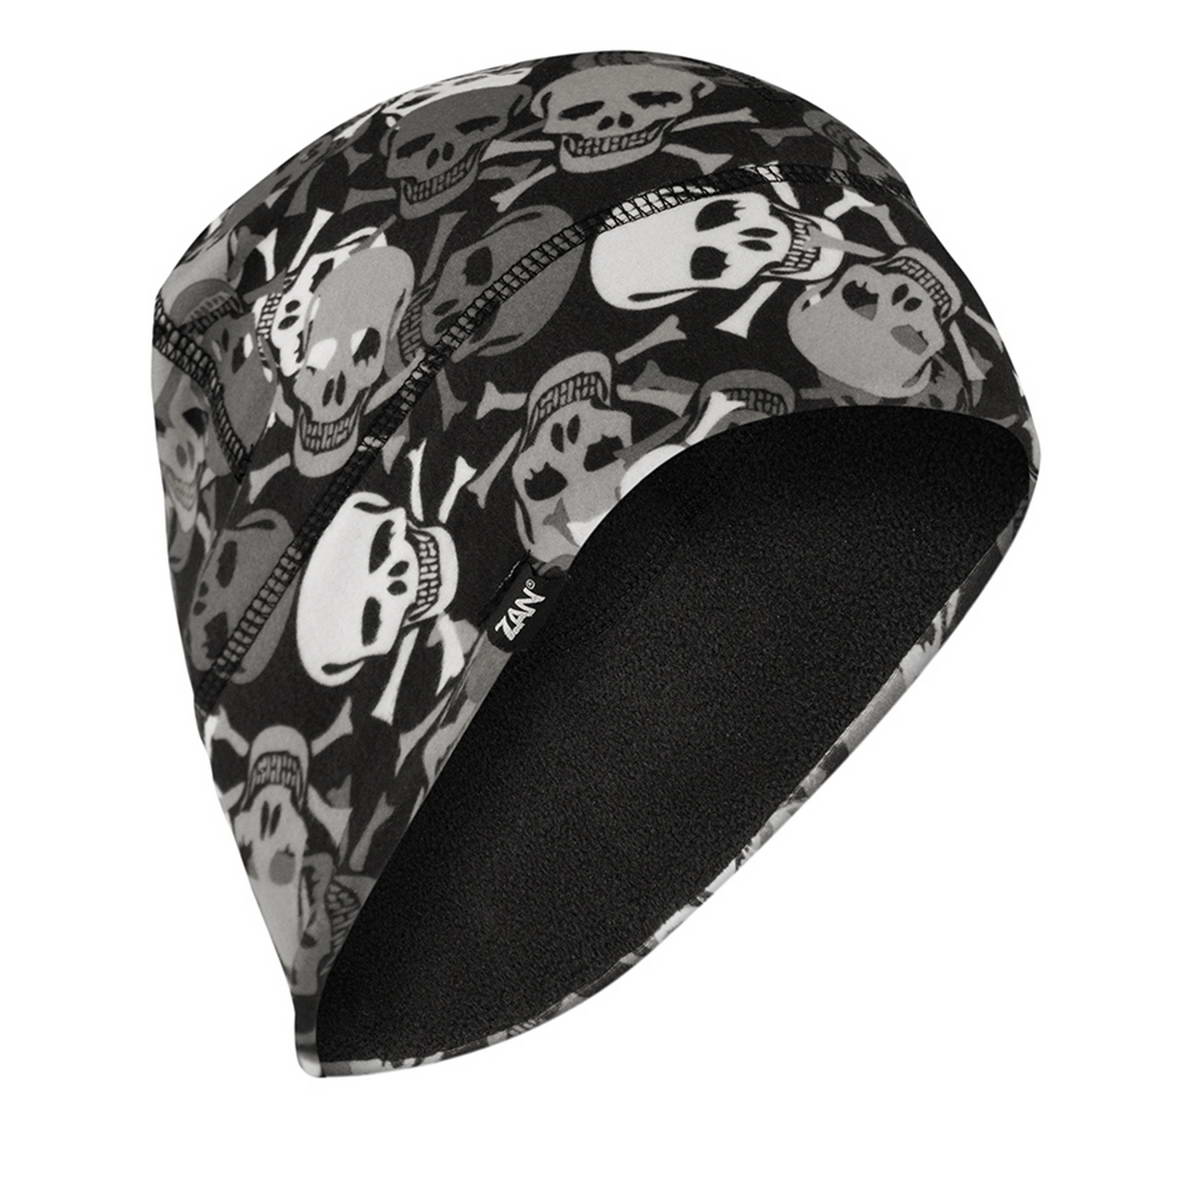
Reviews
There are no reviews yet.