
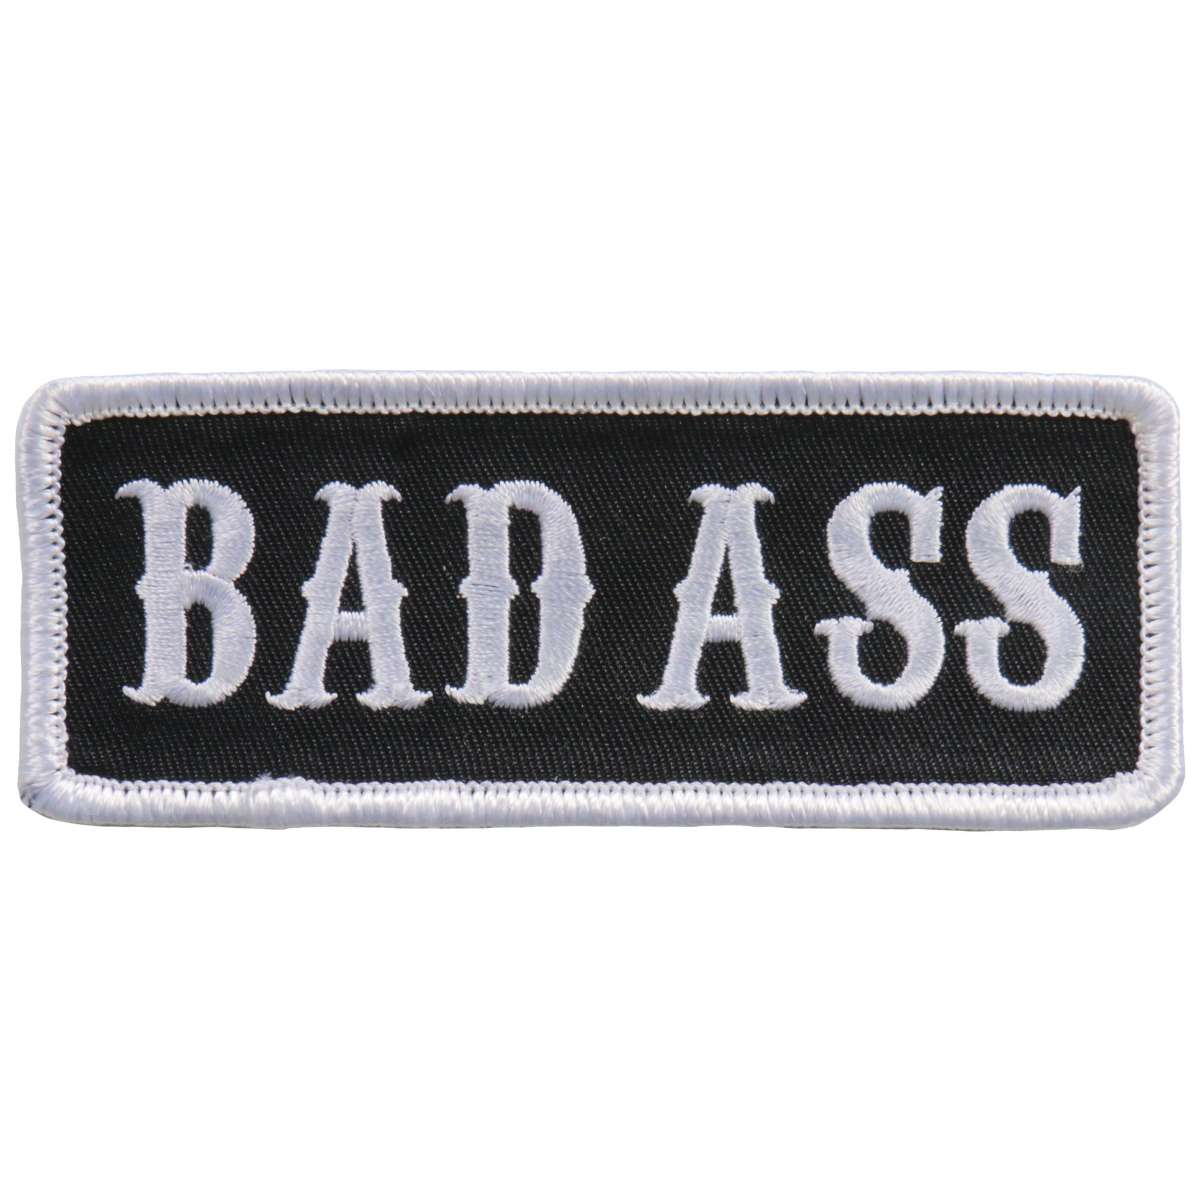
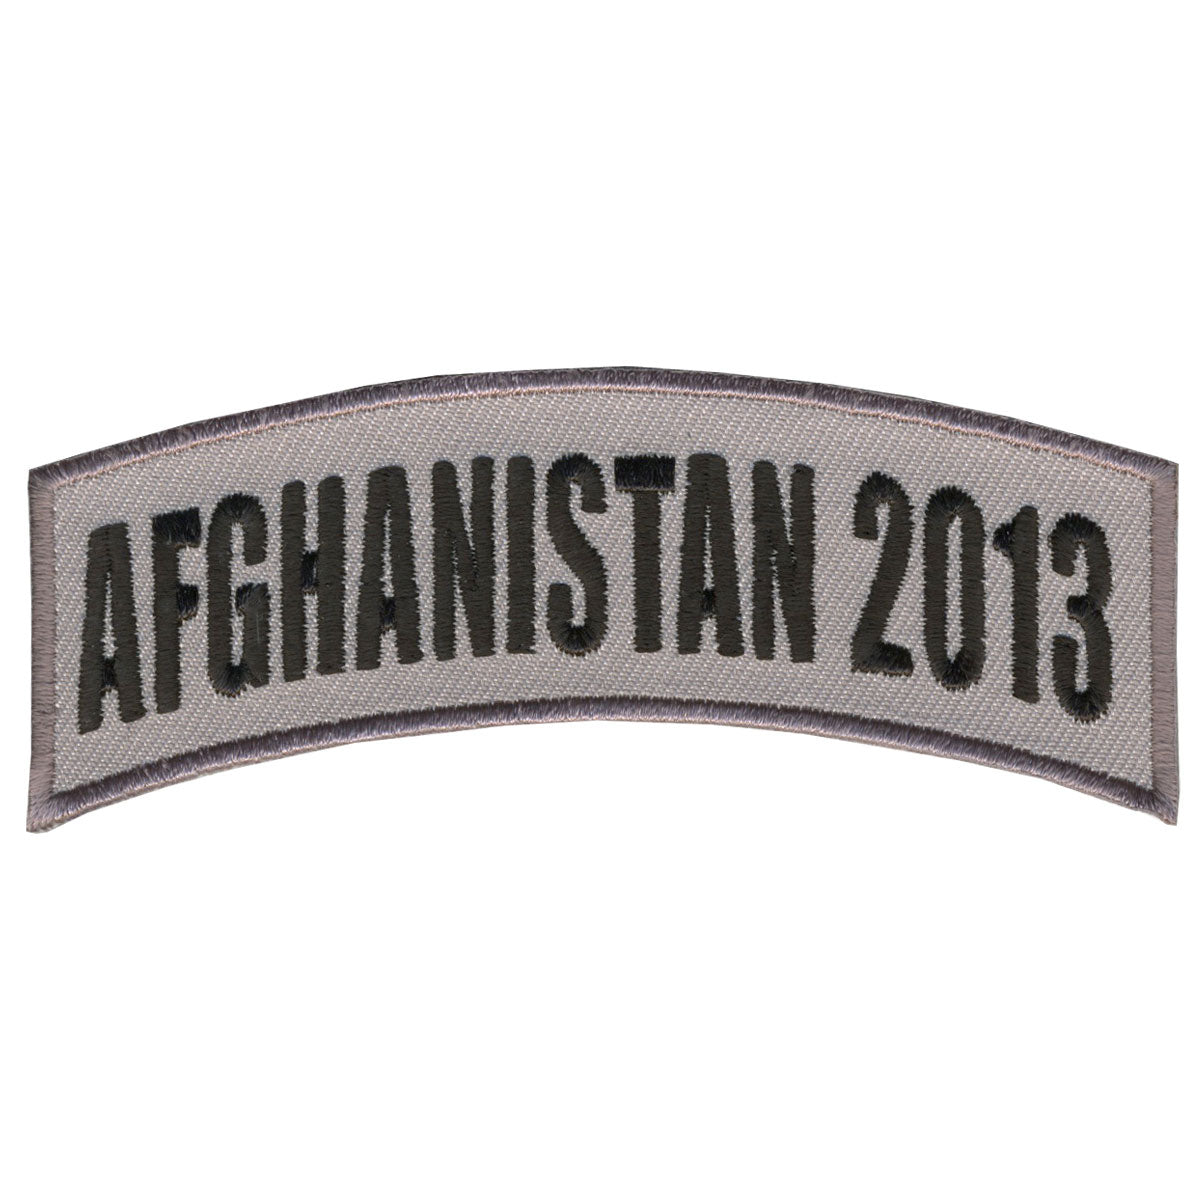
Hot Leathers Patch Bad Ass PPL9760
Original price was: $15.95.$10.00Current price is: $10.00.
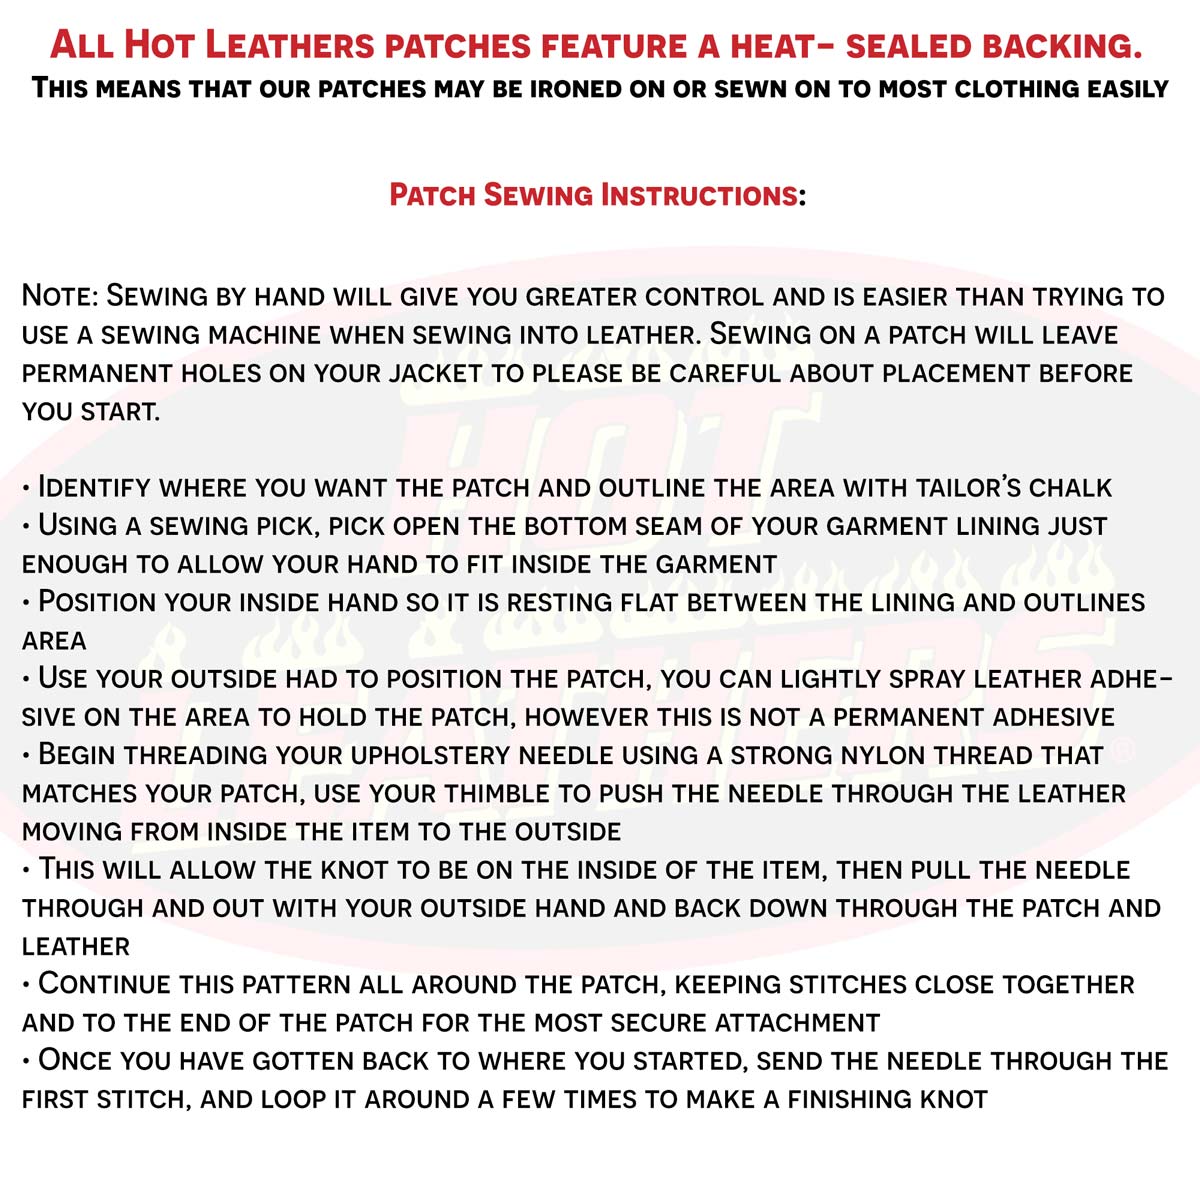
All Hot Leathers patches feature a heat- sealed backing. This means that our patches may be ironed on or sewn on to most clothing easily
Patch Sewing Instructions:
Note: Sewing by hand will give you greater control and is easier than trying to use a sewing machine when sewing into leather. Sewing on a patch will leave permanent holes on your jacket to please be careful about placement before you start.
– Identify where you want the patch and outline the area with tailor’s chalk
– Using a sewing pick, pick open the bottom seam of your garment lining just enough to allow your hand to fit inside the garment
– Position your inside hand so it is resting flat between the lining and outlines area
– Use your outside had to position the patch, you can lightly spray leather adhesive on the area to hold the patch, however this is not a permanent adhesive
– Begin threading your upholstery needle using a strong nylon thread that matches your patch, use your thimble to push the needle through the leather moving from inside the item to the outside
– This will allow the knot to be on the inside of the item, then pull the needle through and out with your outside hand and back down through the patch and leather
– Continue this pattern all around the patch, keeping stitches close together and to the end of the patch for the most secure attachment
– Once you have gotten back to where you started, send the needle through the first stitch, and loop it around a few times to make a finishing knot
– Finally restitch the garments lining and your all set
Patch Iron-on Instructions:
– Preheat your iron to 325-335 degrees. Do Not Use Steam.
– Press the area where you want your patch to be for 25 seconds
– Position the patch on the garment so that it is positioned where you would like it to be
– Place a lightweight cloth over the patch, using a back-and-forth motion with medium pressure on the area for 15 seconds
– The iron should never come into direct contact with the patch
– Carefully turn your garment inside out, using the same back and forth motion firmly iron the inside of the item where your patch is for about 1 minute
– Turn the garment right side in once more, use your clen lightweight cloth to cover the patch
– Iron the edges of the patch through the cloth to ensure they are thoroughly sealed
– Let the garment cool completely before wearing
– Hot Leathers- Established 1983 (The Leader In Motorcycle Apparel)
All Hot Leathers patches feature a heat- sealed backing. This means that our patches may be ironed on or sewn on to most clothing easily
Patch Sewing Instructions:
Note: Sewing by hand will give you greater control and is easier than trying to use a sewing machine when sewing into leather. Sewing on a patch will leave permanent holes on your jacket to please be careful about placement before you start.
– Identify where you want the patch and outline the area with tailor’s chalk
– Using a sewing pick, pick open the bottom seam of your garment lining just enough to allow your hand to fit inside the garment
– Position your inside hand so it is resting flat between the lining and outlines area
– Use your outside had to position the patch, you can lightly spray leather adhesive on the area to hold the patch, however this is not a permanent adhesive
– Begin threading your upholstery needle using a strong nylon thread that matches your patch, use your thimble to push the needle through the leather moving from inside the item to the outside
– This will allow the knot to be on the inside of the item, then pull the needle through and out with your outside hand and back down through the patch and leather
– Continue this pattern all around the patch, keeping stitches close together and to the end of the patch for the most secure attachment
– Once you have gotten back to where you started, send the needle through the first stitch, and loop it around a few times to make a finishing knot
– Finally restitch the garments lining and your all set
Patch Iron-on Instructions:
– Preheat your iron to 325-335 degrees. Do Not Use Steam.
– Press the area where you want your patch to be for 25 seconds
– Position the patch on the garment so that it is positioned where you would like it to be
– Place a lightweight cloth over the patch, using a back-and-forth motion with medium pressure on the area for 15 seconds
– The iron should never come into direct contact with the patch
– Carefully turn your garment inside out, using the same back and forth motion firmly iron the inside of the item where your patch is for about 1 minute
– Turn the garment right side in once more, use your clen lightweight cloth to cover the patch
– Iron the edges of the patch through the cloth to ensure they are thoroughly sealed
– Let the garment cool completely before wearing
– Hot Leathers- Established 1983 (The Leader In Motorcycle Apparel)
Reviews
"Picked the red option and it fits true to size with no surprises. Running it through my routine for a month. Glad I went with this one."
"Shipping was faster than I expected. Battery lasts a full day of use. I use it in the garage most evenings. Exactly what I needed."
"Chose the king size and the weight feels balanced and premium. Brought it to a tailgate and it performed. No complaints so far."
"Got the olive green and it does exactly what it's supposed to do. Carried it through a busy work week. Instructions could be a bit clearer, but I figured it out. Would buy again."
"Got the charcoal one and it feels sturdy in the hand. I use it in the garage most evenings. I'm in Boise, ID. Shipping was quick and the item delivered."
"Got the travel size and the weight feels balanced and premium. Used it at the desk for video calls all month. I'm in Milwaukee, WI. Solid deal, no regrets."
"Chose the larger size and the compartments keep everything organized. Took it to the lake house for the weekend. I'm in Miami, FL. Glad I went with this one."
"Picked the blue one and the stitching has held up better than expected. Took it on a road trip last weekend. Happy with my purchase."
"Chose the king size and the build quality is better than the photos suggested. Used it during a move and nothing shifted. Five stars from me."
"Ordered the refurbished unit and the screen is sharp and bright in daylight. I've been using it daily for about two weeks now. Runs a touch small but nothing a size up didn't fix. Exactly what I needed."
Related products
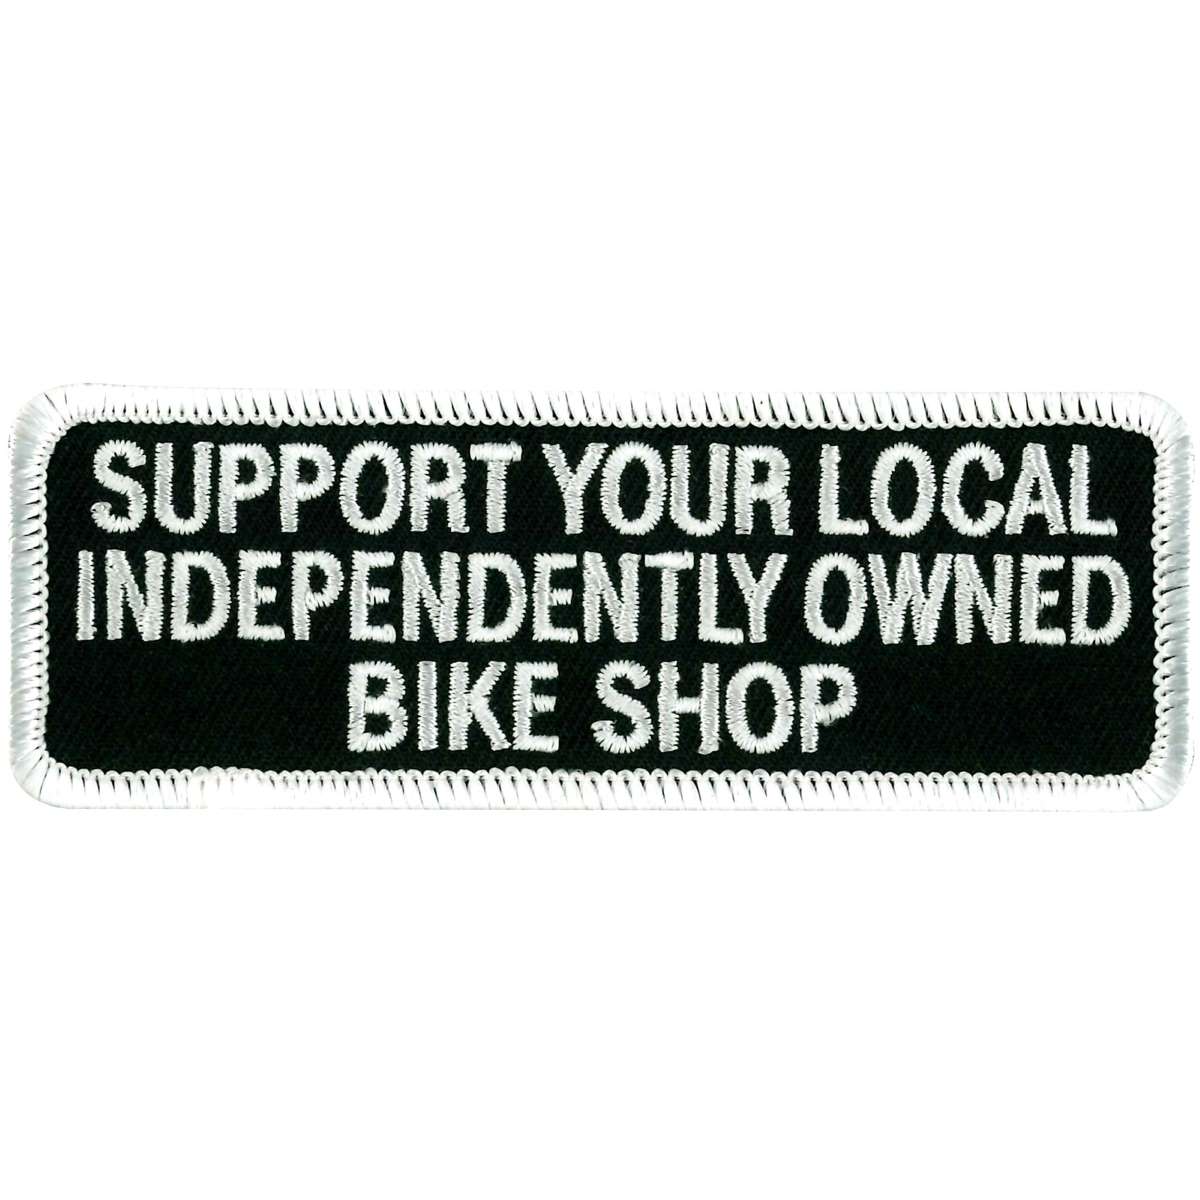
Hot Leathers PPL9182 Support Your Local Shop 4″ Patch
Original price was: $15.95.$10.00Current price is: $10.00.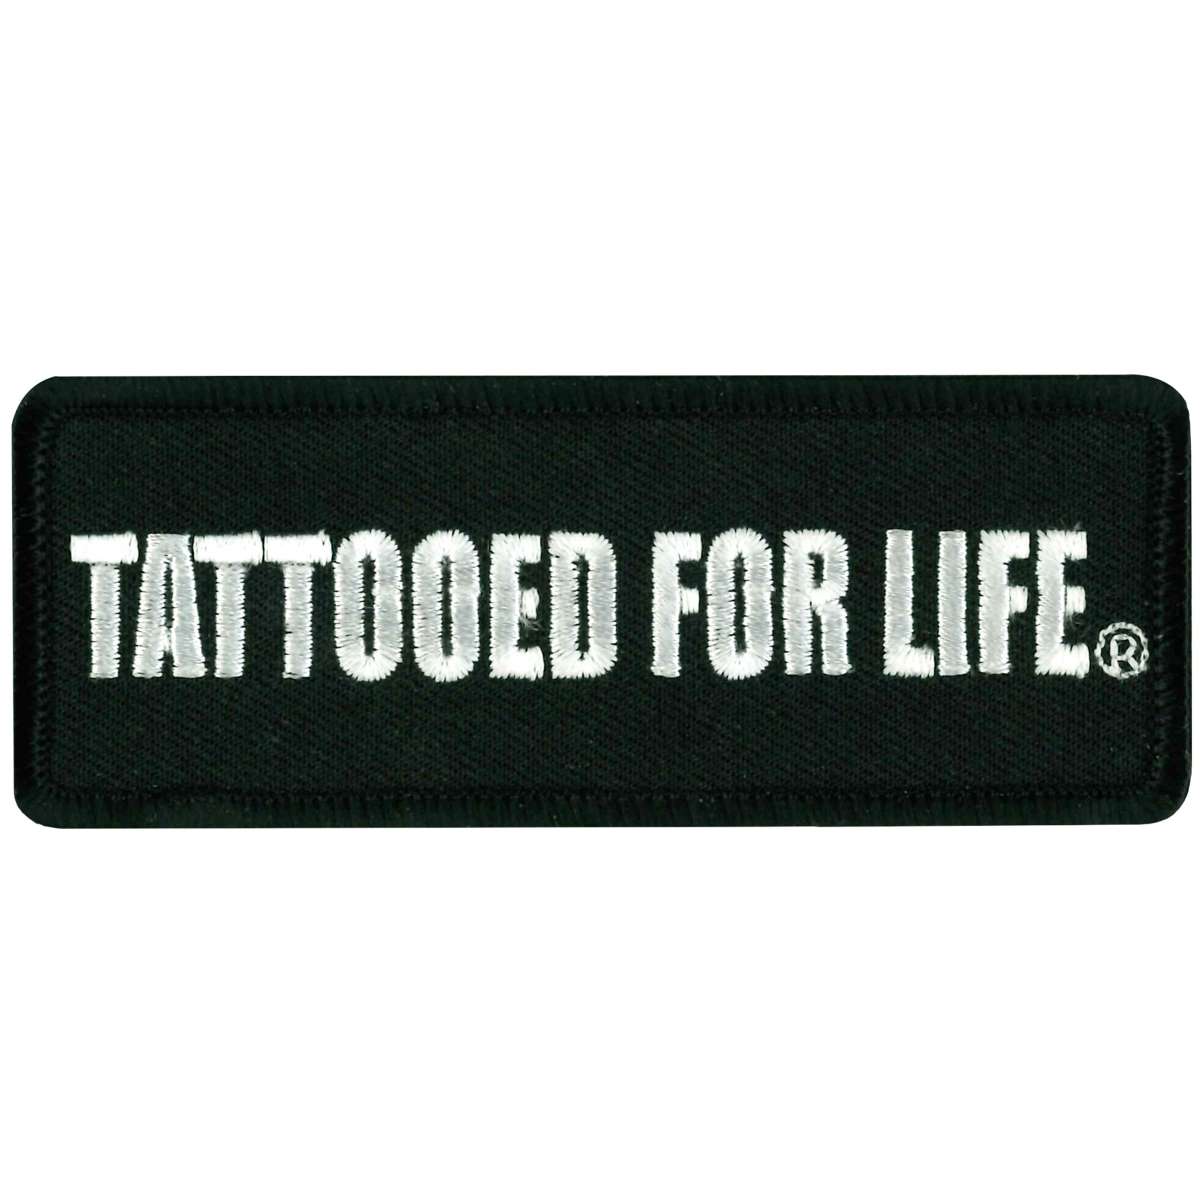
Hot Leathers PPL9267 Tattooed for Life Patch
Original price was: $15.95.$10.00Current price is: $10.00.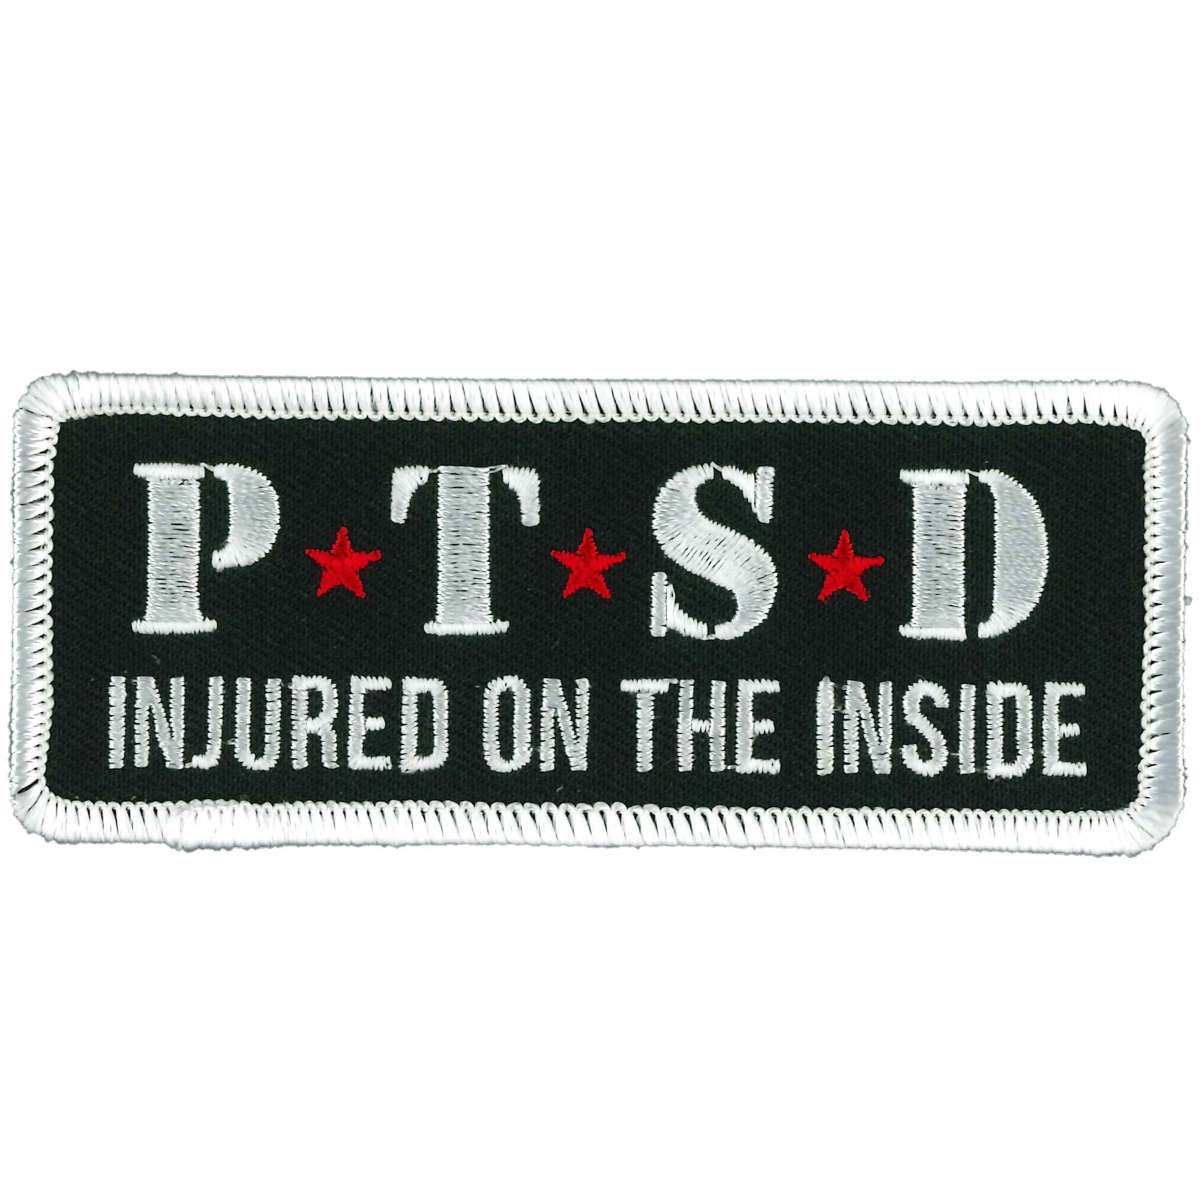
Hot Leathers PPL9490 Injured Inside Patch
Original price was: $15.95.$10.00Current price is: $10.00.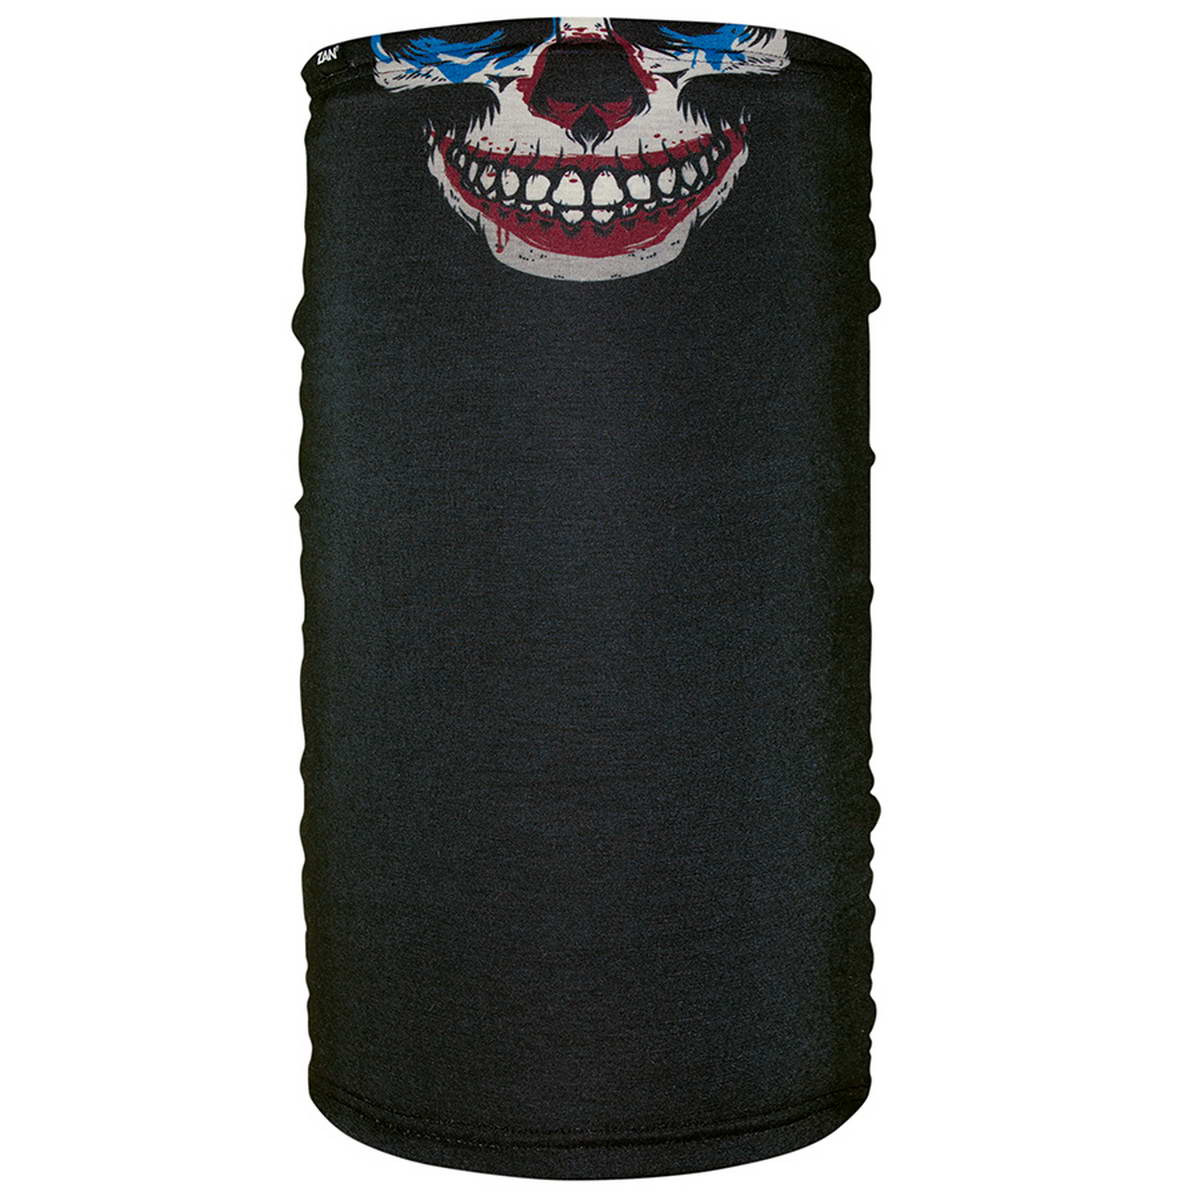
ZanHeadgear TF463 Motley Tube Fleece Lined Evil Clown
Original price was: $42.99.$12.99Current price is: $12.99.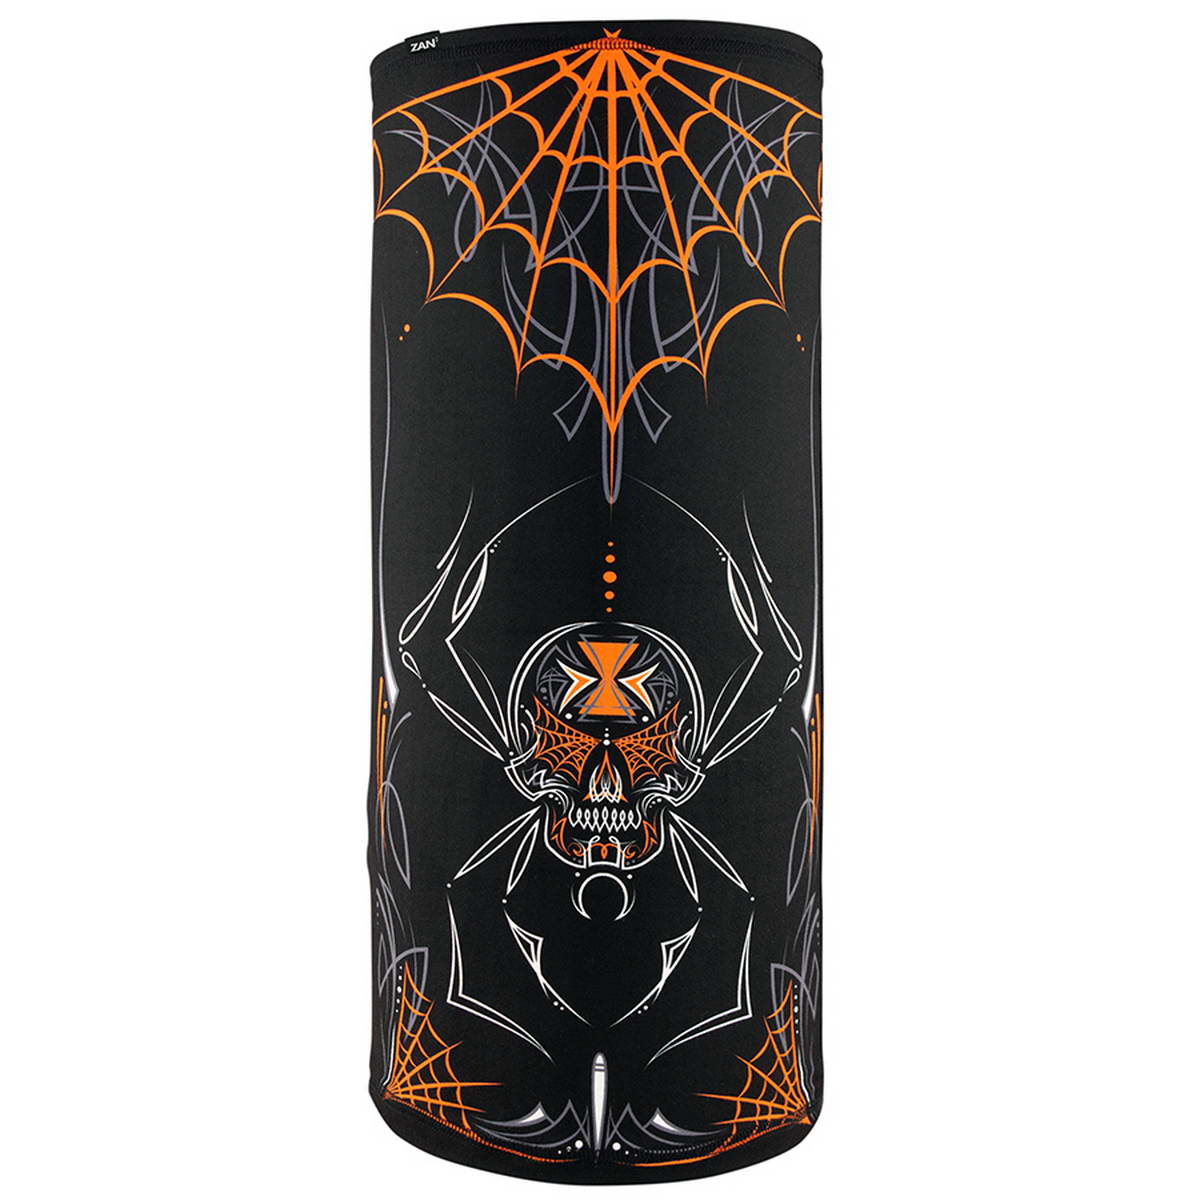
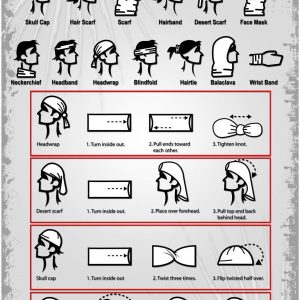
ZanHeadgear TL422 Motley Tube SportFlex Series Black & White Pinstripe Web
Original price was: $39.99.$11.99Current price is: $11.99.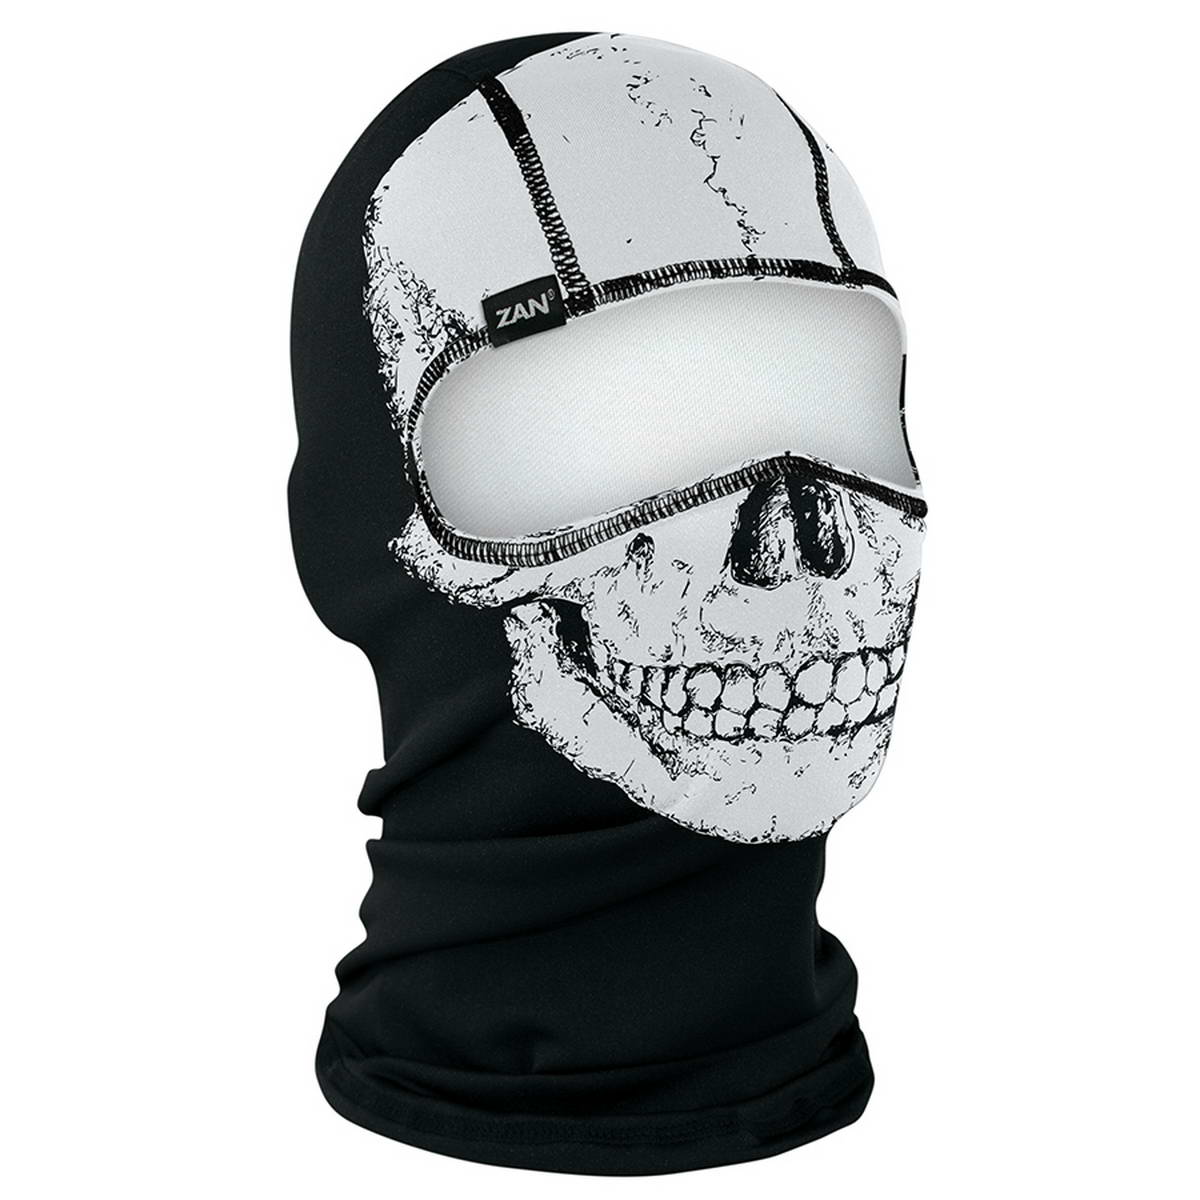
ZanHeadgear WBP002 Polyester Balaclava Skull
Original price was: $41.99.$12.99Current price is: $12.99.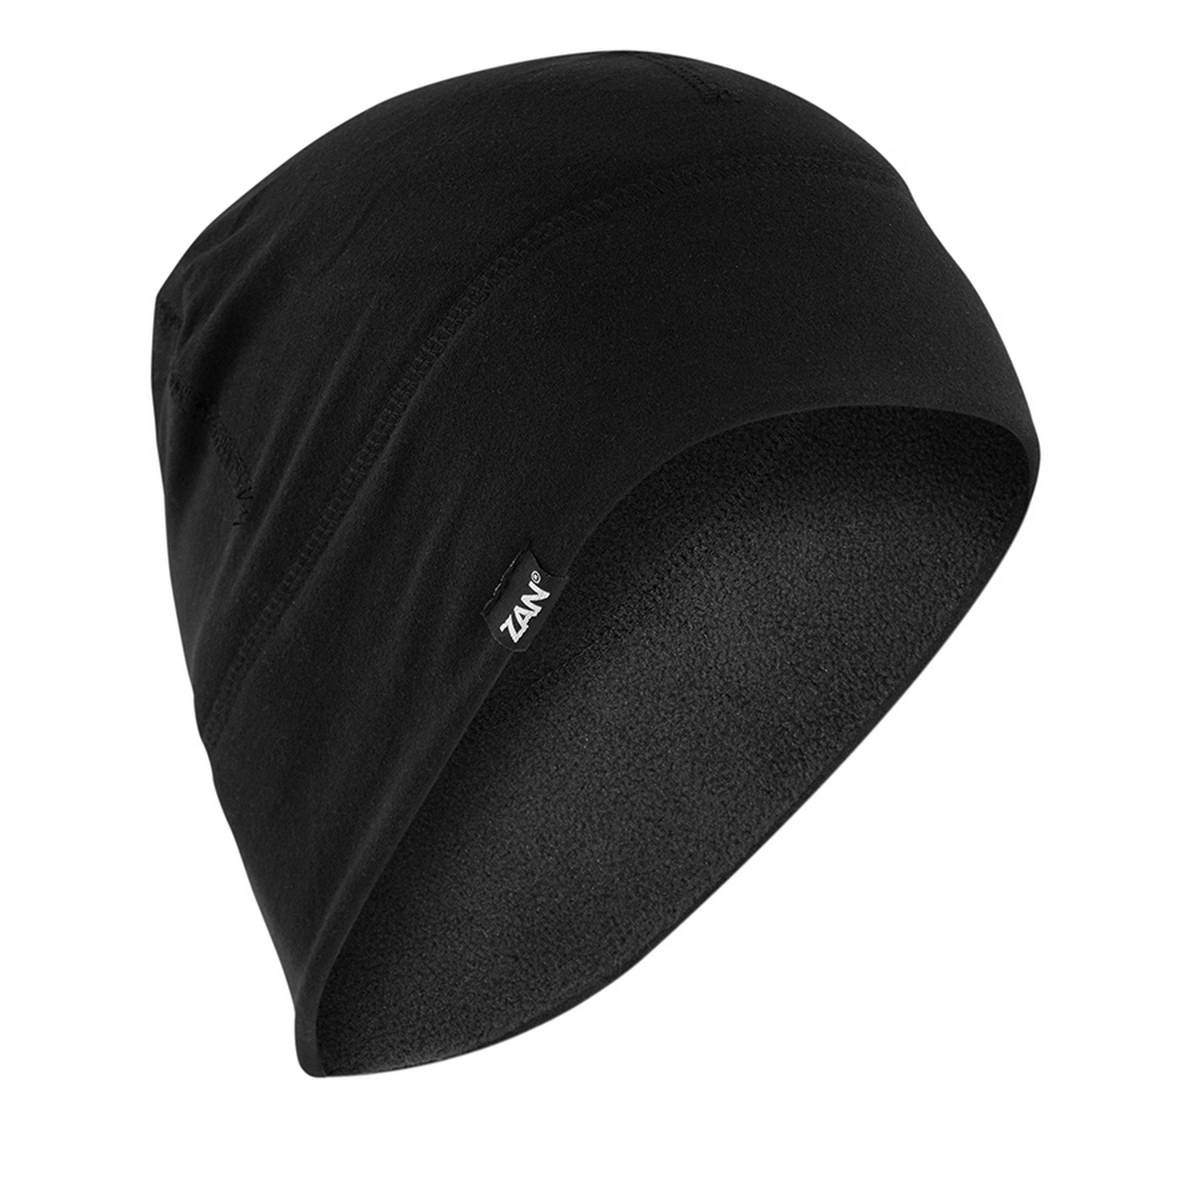
ZanHeadgear WHLF114 Helmet Liner/Beanie SportFlex Series Fleece Lined Black
Original price was: $32.98.$10.00Current price is: $10.00.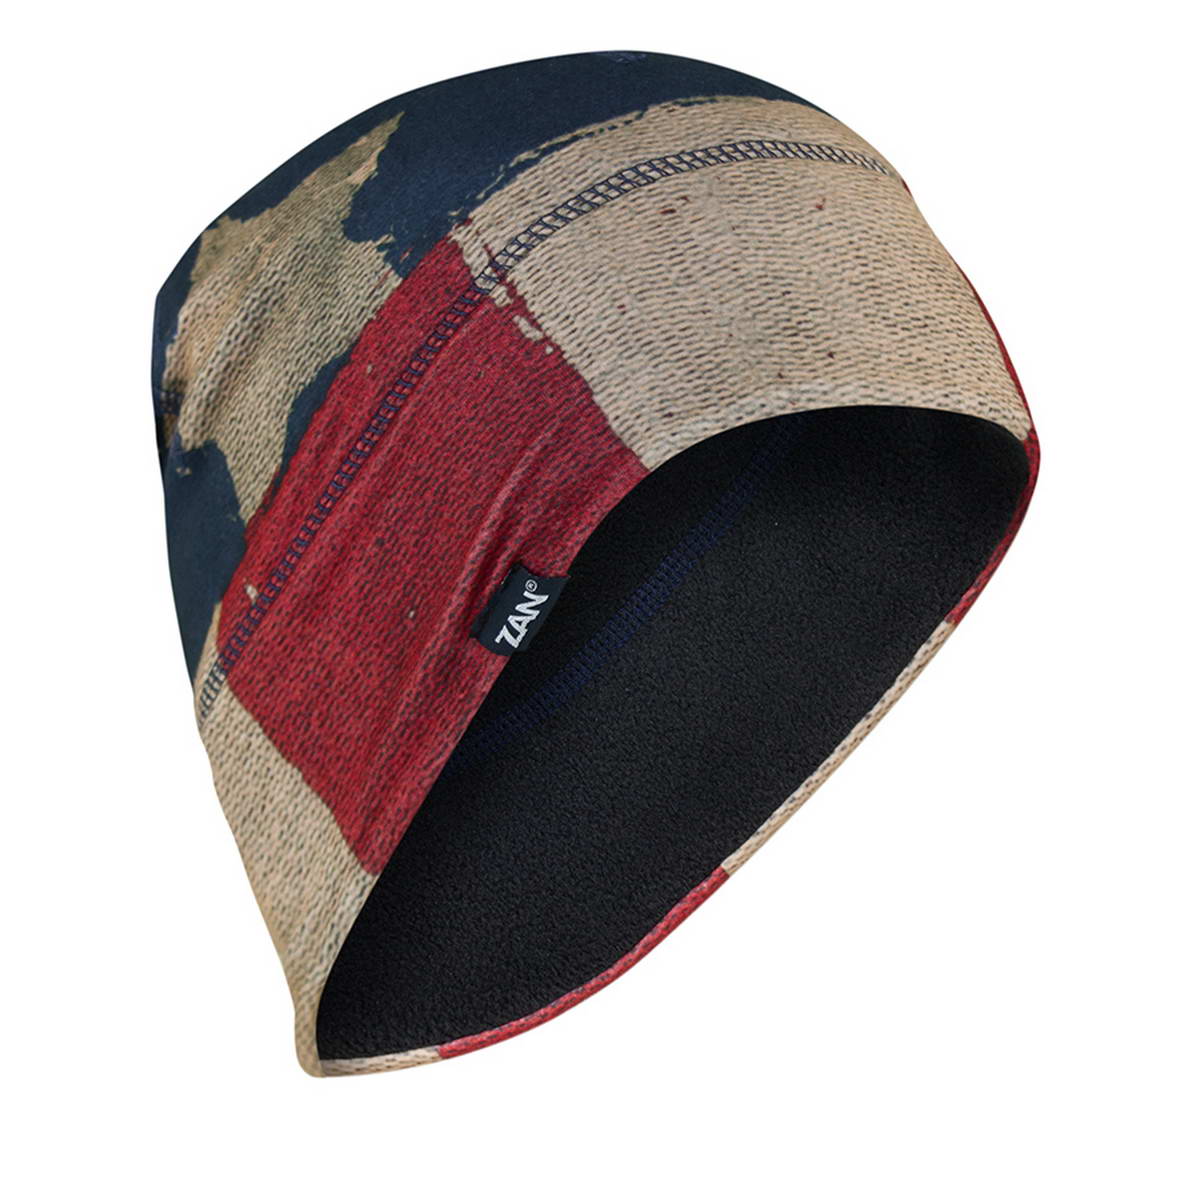
Reviews
There are no reviews yet.